We all have cherished mementos and heirlooms that we keep tucked away safely so they won't be lost or damaged. Unfortunately, protecting these keepsakes means we can't enjoy them easily. That all changes with SOL, a 3D printer, and a little time with software.
In this post, we'll walk through the process of scanning, editing, and printing a family heirloom to make a new keepsake ornament that our children can enjoy without fear.
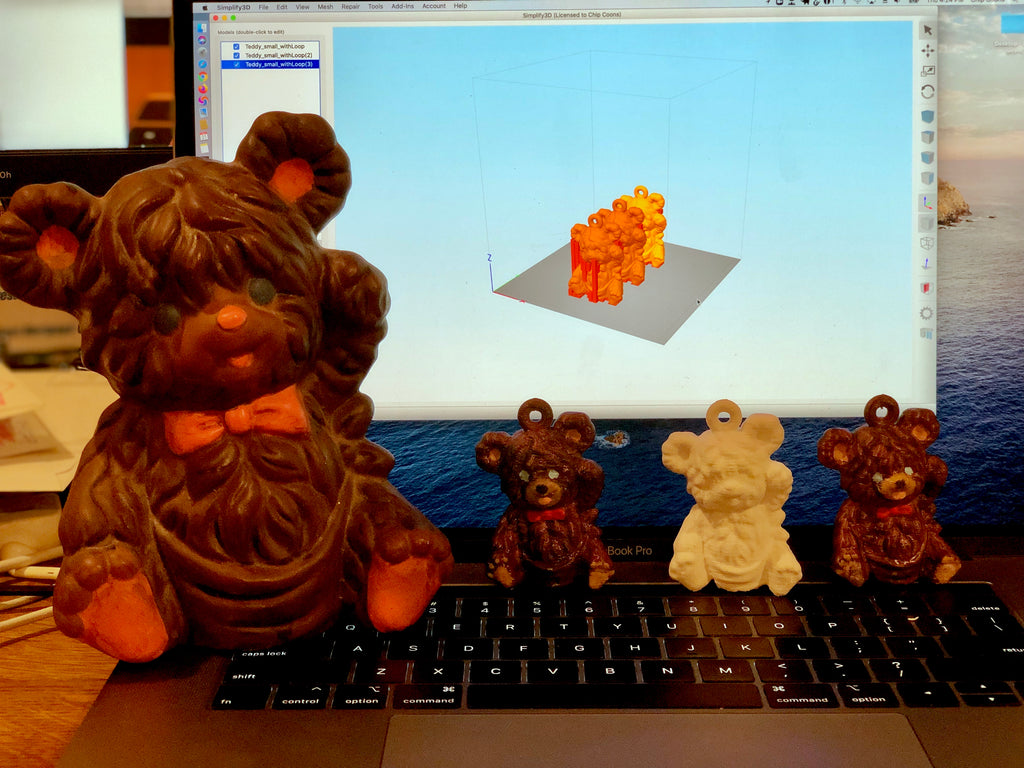
Our heirloom is a hand-crafted ceramic teddy-bear made by our grandmother that we would like to share with the next generation, but it is very fragile.

We'll use our standard scan-to-print approach for capturing a suitable copy of the bear, but we'll also use a few software tools before printing to modify the teddy-bear and turn it into an ornament we can hang on our tree.
Step 1 - Scan
We'll scan the bear in far-mode due to its height, and we're only going to need a single pass scan, since he has a flat bottom anyway.
Step 2 - Review
The SOL Viewer application will launch after the scan is completed to allow us to evaluate our scan results. We like to use a few of the different rendering options to evaluate our overall scan. We'll also upload a copy of the scan to P3D so we can easily access it from multiple computers.


Step 3 - Export
We're going to do some modifications of the scanned bear before we print it, so will export it in OBJ format for now, though and STL export would also work. Alternatively, you can upload the OBJ file to P3D (our included model sharing service) and then download the scan on another computer.

Step 4 - Import (into MeshMixer)
MeshMixer is an easy-to-use editor that will allow us to easily scale our scan down to suitable dimensions for use as an ornament, and to add a loop to the top of the model for easy hanging.

If you don't have MeshMixer, you can get a free copy from Autodesk at http://www.meshmixer.com/
Step 5 - Resize
We decided our bear ornament should be about 65mm tall to look good with our other ornaments, so use the Edit > Transform panel to re-size the Z axis to 65 mm after making certain the "Uniform Scaling" option is checked.

In addition to re-sizing our model, we want to add a loop to make hanging it on the tree easy without drilling or glueing.
We'll do this by adding a torus (ring) object from the Meshmix selector to our scene, and then scaling it and positioning it atop the bear's head.

Once we have the ring sized and positioned correctly, we'll combine the two objects and make a single solid object.

We'll then hollow out the combined object to minimize how much printer filament we'll use when printing.
We'll now export from MeshMixer to our Slicer software. We could print directly from MeshMixer if our printer is set-up and we've loaded the correct profiles into MeshMixer. However, our preference is to use a different package for slicing and printing that gives us a little better control over our final output.
Step 6 - Print
Since we're using Simplify3D for slicing and printing our object, we'll import the STL file we create in MeshMixer during the export step into that package.


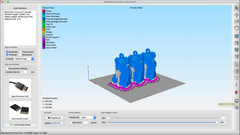
We want to make multiple copies of our ornament, so will use Simplify3D to copy and position the objects for printing in a single pass.


The Center and Arrange button will place the three copies on our print-bed for us automatically.

Next, we'll add supports.

We'll also print with a raft, since one heel of the scan is slightly lower than the other. Based on experience, this will improve our print results.
Once we are happy with our preparation, we can start the printing.
After printing and clearing away the supports, we can paint our ornaments and have a lasting memento of a favorite keepsake, without risking the original.

If you would like to see the entire process, end-to-end, here is a video showing the complete process.